Last updated: October 30, 2026
Quick Answer: Menstrual cup basics and first-time setup usually work best when you match the cup to your cervix height and flow, then give yourself 1–3 cycles to learn the angle and seal. If the cup is too long for your body, too firm for your pelvic floor, or inserted without checking that it has fully opened, the usual result is leaks, pressure, or a cup that feels impossible to remove.
Key Takeaways
- The best fit comes from cervix height, cup firmness, and available space, not brand appearance.
- Pick the size for your cervix height and flow, not age alone.
- Rinse, fold, relax, insert low and angled back, then check that the cup opens before you trust it.
- If it hurts, leaks, or will not open, stop and adjust the angle, fold, or cup style before pushing on.
What actually determines the right first-time setup?
Menstrual cup basics and first-time setup are mostly about cervix height, cup firmness, and how much room your body gives the cup, not about picking the prettiest brand. If the cup is too tall for a low cervix, it can sit uncomfortably low or be hard to remove. If it is too soft and your pelvic floor is strong, it may not pop open easily. If your flow is heavy, you may need a larger capacity or a shorter emptying interval, sometimes every 4–6 hours at first.
A generic beginner guide usually misses the part that matters most: menstrual cups are not one-size-fits-all. A “small” cup from one brand can be longer than a “regular” cup from another. Diameters, stem styles, firmness, and capacities vary a lot. Many cups are medical-grade silicone, though some are TPE or latex; the material affects feel and cleaning, but the real first-time issue is shape.
Here’s the practical way to think about it:
| Situation | Best Path | Why Other Options Fail |
|---|---|---|
| Low cervix, cup feels too long | Shorter cup, trim stem only if the cup still removes comfortably | A long cup can press uncomfortably or poke low in the vagina |
| High cervix, cup keeps slipping out of reach | Longer cup or firmer stem, learn to bear down before removal | Short cups can sit too high to pinch easily |
| Heavy flow, leaks by midday | Higher-capacity cup and a 4–8 hour emptying schedule | A tiny cup can overflow before you expect it |
| Sensitive bladder or pelvic floor | Softer cup and gentle insertion angle | Very firm cups can feel like pressure, especially at the bladder or urethra |
If you are buying your first cup, look for:
- a diameter you can physically insert without strain
- a length that matches your cervix height
- a rim you can pinch to fold
- a stem you can feel, but not one that pokes
A good starter choice is often a medium-firm cup from a known manufacturer that publishes dimensions in millimeters and capacity in milliliters. That matters more than marketing terms like “beginner friendly.”
Quick check: if tampons already feel uncomfortable, if your cervix sits low on your period, or if you have a very heavy flow, your first cup choice matters more than your technique.
How do I know which size to buy?
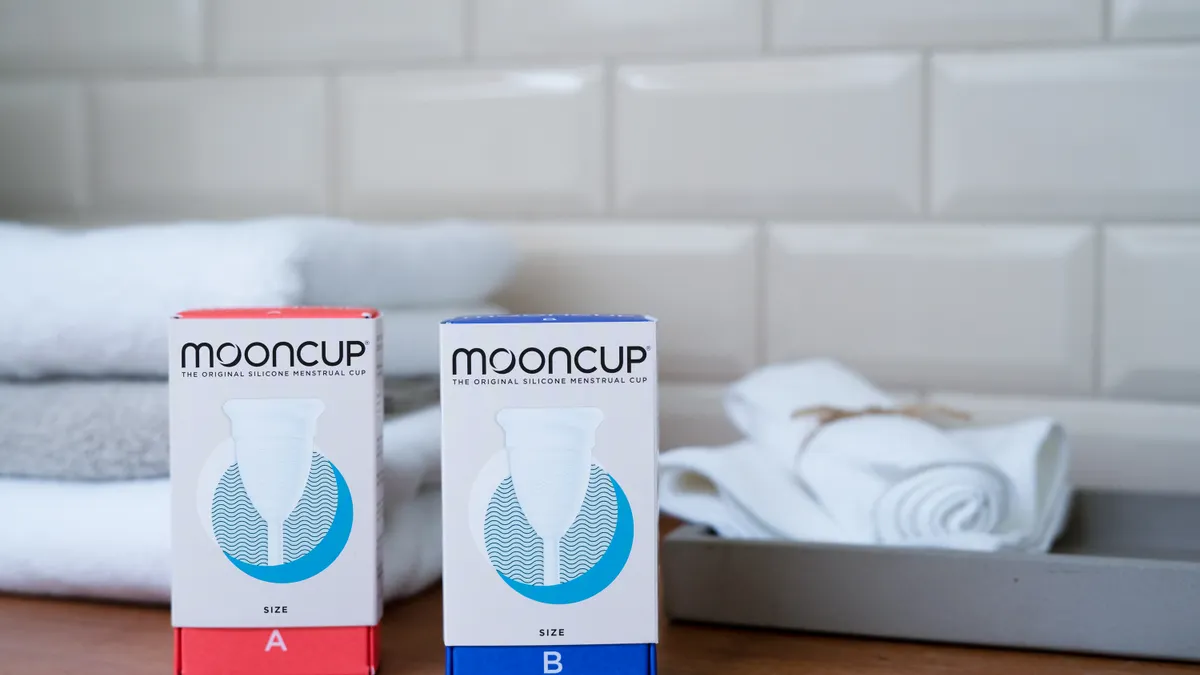
Menstrual cup basics and first-time setup start with size: you buy the size that fits your cervix height and flow, not the size attached to your age alone. If you are under 30, have not given birth vaginally, and have an average-to-light flow, many brands steer you toward their smaller or “small” size. But if your cervix is low, even a smaller diameter cup can be too long, and if your flow is heavy, a “small” cup can still be the wrong answer.
The simplest at-home check is your cervix height during your period, not on a random day. Wash your hands, squat or sit, and insert one finger until you feel a firm, rounded bump. If you can touch it with the first finger knuckle, that is a low cervix. If you need to go in farther than that, it is mid or high. A low cervix often does better with a shorter cup, sometimes 40–45 mm in body length rather than 50+ mm. Those numbers are typical product dimensions, not universal rules.
Do not skip capacity. A cup that holds around 20 mL may be fine for light flow but frustrating for a heavy day. Some larger cups hold around 30–35 mL or more before the stem and air space are counted. For a first cup, capacity and comfort should both matter.
- Check cervix height on at least 2 heavy days of your period.
- Note whether you can reach it with one finger, two joints in, or not easily.
- Compare cup body length in millimeters, not just “small” or “large.”
- Look at rim firmness if you tend to struggle opening a cup after insertion.
- Choose a stem style that can be trimmed if the brand allows it.
- Keep a backup pad or period underwear for the first cycle.
If you have given birth vaginally, have a stronger pelvic floor, or have used tampons comfortably for years, you may still prefer a larger diameter or firmer rim. If you have pelvic pain, endometriosis, vaginismus, or a history of painful insertion, a softer, smaller cup or a different period product may be a better first choice. That is not a failure; it is a fit issue.
Quick check: if you cannot name your cervix height or your product’s length in millimeters, you are choosing blind.
Menstrual cup basics and first-time setup
Menstrual cup basics and first-time setup work best when you rinse, fold, relax, insert low and angled back, then check that the cup has opened before you trust it. If the cup stays folded, sits beside the cervix instead of under it, or rides too high, it will leak even if the cup itself is the right one.
Start with a clean cup. Before first use, most brands recommend boiling silicone cups for 5–10 minutes in a pot of water, but you should check the manufacturer’s instructions because not every material tolerates the same heat. A collapsible sterilizer cup made for microwaves can also work for some models. For your own body, plain water is enough for the first insertion. Fragrance-free soap can be used on the cup body if the manufacturer allows it; harsh or oily cleansers are a bad idea.
The fold matters more than most people think. The C-fold is common, but many first-time users do better with the punch-down fold because it makes a smaller, narrower insertion point. A 7-fold is another option if the cup is stiffer. Once inserted, release it, then run a finger around the base if you can. If the cup has opened, it should feel round or mostly round. A cup that remains dented can leak.
Here is a practical first-time sequence:
- Wash your hands and relax your pelvic floor with 2–3 slow breaths.
- Wet the cup with water or a water-based personal lubricant if needed.
- Use the punch-down or C-fold, whichever makes the smallest tip.
- Insert toward the tailbone, not straight up, until the cup is fully inside.
- Let go, then rotate or gently tug the base to help it open if needed.
- Check the seal by lightly pulling the stem or base; resistance usually means it has opened.
- If it feels wrong, remove it and try again rather than forcing it.
A cup should usually sit lower than a tampon applicator would, though the exact position varies with cervix height. The stem should not poke. If it does, trim a little at a time, and do not cut the stem flush on day one. You may discover you need that extra grip during removal.
There is one honest trade-off here: the setup learning curve can be annoying. The first 1–3 cycles may involve leaks, extra laundry, and a few failed insertions. That does not mean cups “do not work.” It means the body is not a machine.
Quick check: if your cup leaks immediately after insertion, the problem is usually the seal or placement, not the whole product.
What if it hurts, leaks, or won’t open?
If it hurts, leaks, or will not open, stop and change the angle, the fold, or the cup style before you keep pushing. A cup that hurts is not something to “power through.” Pain usually means the cup is too large, too firm, not unfolded, or sitting against the cervix or bladder in an awkward way.
Leakage has a few common causes. The cup may be too low, it may not have opened, or it may be full. It can also happen if your cervix sits partly beside the cup rather than inside it. That last one surprises a lot of beginners. The cervix does not always sit dead center, and some bodies need a little repositioning to catch the flow.
If the cup will not open, try these fixes in order:
- insert a little higher, then release
- pinch the base and rotate
- pull down slightly, then let it reseat
- try a firmer fold or a firmer cup next cycle
- use a tiny amount of water-based lubricant on the rim
If the cup hurts on insertion, the issue is often tension. Many people clench without realizing it. A shower can help because warm water relaxes the pelvic floor. If the cup hurts while walking, sitting, or peeing, it may be too firm or too large, or the stem may be too long.
| Situation | Best Path | Why Other Options Fail |
|---|---|---|
| Cup opens but still leaks | Reposition around cervix and check fullness | A seal alone does not fix a misaligned cup |
| Cup stays folded or dented | Try a different fold or firmer rim | Repeated pushing can make swelling and tension worse |
| Cup feels like pressure on bladder | Switch to a softer or shorter cup | A long, firm cup can press in the wrong spot |
| Stem pokes during sitting | Trim 1–2 mm at a time or choose a shorter stem next time | Cutting too much can make removal hard |
One useful benchmark: a cup that is full should be emptied, cleaned, and reinserted rather than “worn a little longer.” A cup that is empty but still leaking needs repositioning, not just more time.
If you have a history of severe pain with penetration, a pelvic exam, a tampon, or a speculum, the standard advice may not fit you. A cup can still be possible, but it may require pelvic floor physical therapy, a different size, or skipping cups altogether; if pain is persistent or severe, consult a clinician or pelvic floor physical therapist for personalized guidance.
Quick check: if leaking happens within 30 minutes of insertion, placement is usually the first thing to troubleshoot.
How do I remove and clean it without making a mess?
You remove it by breaking the seal first, then pinching the base, then easing it out slowly. If you pull the stem without breaking the seal, the suction can make removal painful. Mess is normal; panic is the part that makes it worse.
Start by washing your hands. Then sit on the toilet, squat in the shower, or stand with one foot raised. Bear down slightly, as if starting a bowel movement, until the stem is easier to reach. Pinch the base to release suction. If you cannot pinch the base, slide one finger up the side to press the cup wall inward. Once the seal is broken, wiggle it out gently, keeping it upright if you can.
Cleaning is simple during the cycle:
- rinse with cool or lukewarm water first if possible
- wash with mild, fragrance-free soap if the manufacturer says it is safe
- avoid harsh antibacterial soaps, oil-based cleansers, and scented products
- sterilize between cycles according to the brand’s instructions, often by boiling silicone for 5–10 minutes
You do not need to deep-clean it every time with special products. Plain water is enough in a public restroom if that is what you have. A small water bottle in your bag can make this far less annoying. Some people carry intimate wipes, but those should be unscented and alcohol-free if used at all.
If your cup has stubborn staining, that is usually cosmetic, not a sign it is unsafe. What matters more is odor, cracks, stickiness, or a damaged rim. A cracked cup, a sticky surface, or a torn stem should be replaced.
Here is a clean removal routine that works for most beginners:
- Wash hands and get into a stable position.
- Bear down gently to bring the cup lower.
- Pinch the base, not just the stem.
- Rock it side to side while keeping suction broken.
- Empty into the toilet or sink.
- Rinse, wash if needed, and reinsert or store dry.
A cup is not the best choice if you cannot tolerate internal removal, if you have severe dexterity problems that make pinching difficult, or if your access to clean water is very limited. A pad, period underwear, or a disc may be a better match.
Quick check: if removal feels “stuck,” you are probably pulling before the seal is broken.
What are the tricky edge cases most guides ignore?
The standard advice breaks down when your anatomy, pain pattern, or lifestyle does not match the average beginner. If you have one of these situations, the usual “just fold it and relax” advice is too vague to help.
-
Low cervix
- What changes: a normal-length cup may feel too long even if the diameter is fine.
- What to do instead: look for shorter cups, sometimes around 38–45 mm in body length, and keep the stem minimal or trimmed.
-
Very high cervix
- What changes: the cup can ride up and become hard to reach.
- What to do instead: choose a longer cup or one with a longer stem, and practice bearing down to bring it lower before removal.
-
IUD in place
- What changes: suction and string interference matter more.
- What to do instead: ask a clinician for personalized guidance before using a cup, and be careful to break the seal fully before removal. Do not yank. A cup is not automatically forbidden, but this is not a casual decision.
-
Vaginal dryness or postpartum changes
- What changes: insertion can feel scratchy or painful.
- What to do instead: use a small amount of water-based lubricant, consider a softer material, and avoid forcing insertion in the first few months after birth unless your clinician says it is okay.
-
Heavy clots or very heavy flow
- What changes: the cup can fill quickly or overflow with clots.
- What to do instead: empty more often, possibly every 3–4 hours on heavy days, and consider a higher-capacity model or backup underwear.
-
Pelvic floor tension or vaginismus
- What changes: the muscles clamp down, and the cup may not insert comfortably.
- What to do instead: do not treat discomfort as something to push through; a pelvic floor physical therapist can be more useful than a new brand.
The point is not that cups are “bad” in these cases. The point is that the default beginner advice stops being useful. A smaller cup is not always the answer, and a softer cup is not always the answer either. Sometimes a disc, pad, or tampon is the better fit.
Quick check: if your main issue is pain, access, or anatomy that makes reaching the cup hard, standard beginner tips will not be enough.
How should you choose your first cup and build a backup plan?
You should choose a cup you can insert, open, and remove comfortably on a normal day, then keep a backup product for the first few cycles. If your first cup is technically “right” but you dread using it, it will sit in a drawer.
A solid first-time checklist looks like this:
- pick a brand that lists dimensions in millimeters and capacity in milliliters
- prefer a clearer sizing chart over vague labels
- choose a medium firmness unless you know you need softer or firmer
- keep period underwear, pads, or pantyliners on hand for leaks
- expect the learning period to take 1–3 cycles, not 1 afternoon
Many beginners do better with one cup and one backup absorbent product rather than betting everything on the cup immediately. That reduces stress and makes it easier to learn without fear of staining clothes. If you are traveling, a small zip pouch, hand sanitizer, and spare underwear can save the day.
A useful rule: if you have tried insertion 3–5 times over several cycles and still cannot get a comfortable seal or removal, stop blaming yourself and reassess the fit. The problem may be the cup shape, not your technique. Some bodies simply do better with a different model or a different menstrual product.
For medical guidance, the U.S. Food and Drug Administration has consumer information on menstrual cups and menstrual hygiene products, and the Cleveland Clinic has practical overviews of cup use and maintenance. For body-specific concerns, the NHS also provides guidance on menstrual cup use, and the American College of Obstetricians and Gynecologists has patient information on pelvic floor discomfort and vaginal products. Those are good places to sanity-check the basics, especially if you have a health condition or a device like an IUD. If a symptom is severe, persistent, or new, a clinician should weigh in.
Here is the honest bottom line: menstrual cup basics and first-time setup are worth trying if you want lower waste, long wear time, and are willing to learn the mechanics. It is not for someone who needs instant perfection, hates internal products, or has pain that makes insertion a fight.
Quick check: if you want a low-waste option but need a grace period with backups, you are the ideal first-time cup candidate.
FAQ
How long can you wear a menstrual cup?
You can usually wear a menstrual cup up to 8–12 hours, but heavy flow may require earlier emptying. If your cup fills sooner, empty it sooner. Do not use the maximum wear time as a target if you are still learning your flow.
Can you sleep with a menstrual cup in?
Yes, you can sleep with a menstrual cup in if it is fitted well and not causing pain. If you sleep more than 8–10 hours, choose a cup with enough capacity or plan to empty it before bed and again when you wake up.
Do you need lubricant?
No, lubricant is not always necessary, but water-based lubricant can help if insertion feels dry or scratchy. Use only a small amount on the rim. Oil-based lubricants can be a poor match for some materials, so check the cup instructions.
Is a menstrual cup safe with an IUD?
It can be, but you should ask a clinician for advice because removal technique matters. Break the seal fully before pulling, and do not tug on the stem alone. If you have pain, string changes, or trouble removing the cup, stop and get medical advice.
How do you know if the cup is in right?
The cup is usually in right if it is comfortable, does not leak right away, and sits without sharp pressure. A light tug should meet resistance if the seal has formed. If it pinches, leaks immediately, or feels lopsided, reposition it.
Drafted with AI; not yet reviewed by a person.