
Last updated: October 27, 2026
Quick answer: clean a menstrual cup after every emptying and sterilize it once per cycle, usually for 5 to 10 minutes of boiling, or with a manufacturer-approved sterilizer cup. This article on how to clean and sterilize a menstrual cup explains the routine in plain steps so the cup stays clean, dry, and ready for the next period.
Key Takeaways
- Gather a sink, running water, unscented soap, and a boiling pot or approved sterilizer cup.
- Use unscented soap only if rinsing leaves residue, slickness, or staining.
- Sterilize with heat for 5 to 10 minutes, or use a manufacturer-approved sterilizer cup.
- Clean after every emptying and sterilize once after each cycle.
What you need before you start
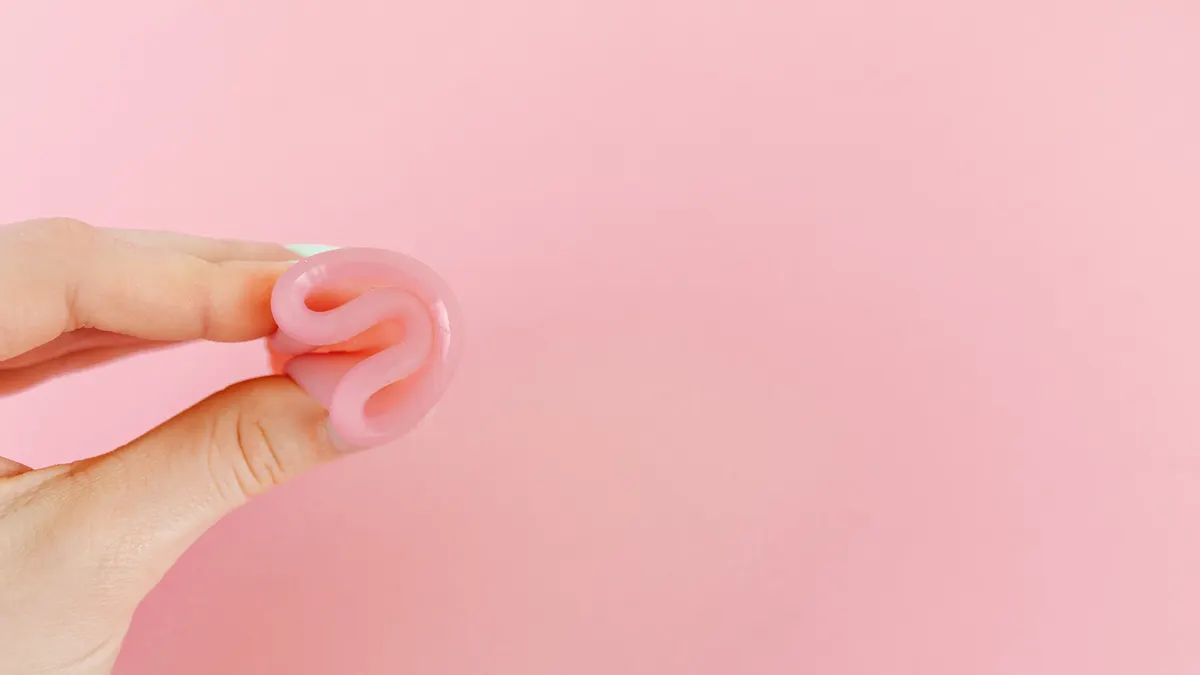
You need a sink, clean running water, unscented soap, and either a boiling pot or a menstrual cup sterilizer cup. A clean storage pouch also matters, because a dry cup can still pick up lint or smell stale if it goes straight into a drawer.
The basic setup is simple:
- Between emptying: water and, if needed, a small amount of unscented soap
- Between cycles: 5 to 10 minutes of boiling, or the sterilizer cup method if the manufacturer allows it
- Storage: a breathable pouch, not an airtight container
A lot of confusion comes from mixing up “clean” and “sterile.” Cleaning removes blood, mucus, and residue. Sterilizing reduces the living microbes left on the cup after the cycle ends. For most menstrual cup cleaning, both matter. The cup is not supposed to stay wet, and it is not supposed to smell sharply soapy when you put it away.
A simple rule saves trouble: use gentle cleaning every time you empty the cup, then do a deeper sanitize at the end of the cycle. If the cup has tiny scratches, a lingering odor, or residue that never seems to rinse out, the cleaning routine usually needs adjusting before the cup needs replacing. Consult your cup maker’s instructions if the material or finish seems unusual. Mayo Clinic
How to clean a menstrual cup after each emptying
Clean a menstrual cup after each emptying by rinsing it with water, washing it with a small amount of unscented soap if needed, and checking the air holes and rim before reinserting it.
Here is the order that works best:
- Wash your hands first. Use soap and water for at least 20 seconds, then dry them. The cup should start clean at the point of handling, not after it has already been touched by damp fingers.
- Empty the cup into the toilet or sink. Tip it out fully and keep the rim pointed so the fluid leaves the cup in one stream. When it works, the cup looks empty except for a few drops clinging to the silicone.
- Rinse the cup with cool or lukewarm water. Aim water through the inside, the outside, and the rim. Cool water helps reduce staining; lukewarm water is fine if that feels better in your hands. The surface should no longer look slick or bloody.
- Wash with a mild, unscented soap if the cup feels slippery or has residue. Use just enough to make a thin lather, then rub the cup with clean fingers for 10 to 15 seconds. The right result is a cup that feels smooth, not coated. Skip strongly scented body wash, exfoliating soap, and anything with added oils.
- Rinse again until no soap remains. Leftover soap can cause irritation the next time the cup is worn. If the cup feels slippery in a slick, soapy way, keep rinsing. When it is clean, it will feel neutral, not perfumed.
- Clear the air holes. Pinch the cup under running water or fill it and cover the holes with your fingers, then release pressure so water is forced through them. If the holes are open, the cup should not trap air or hold a faint odor in one spot.
- Check the rim, stem, and folds for residue. A quick visual check catches dried blood at the base of the rim or in textured areas. If you can still see staining, repeat the rinse instead of putting the cup back in place.
This step is not about making the cup look brand new. A cup can be lightly stained and still be usable if it is washed well. The better signal is the smell and the feel: no sour odor, no soap film, no visible clots or residue. If you are away from home, bottled water can work in a pinch, but a proper rinse with clean tap water is better once you can get it.
What to do when water alone is not enough
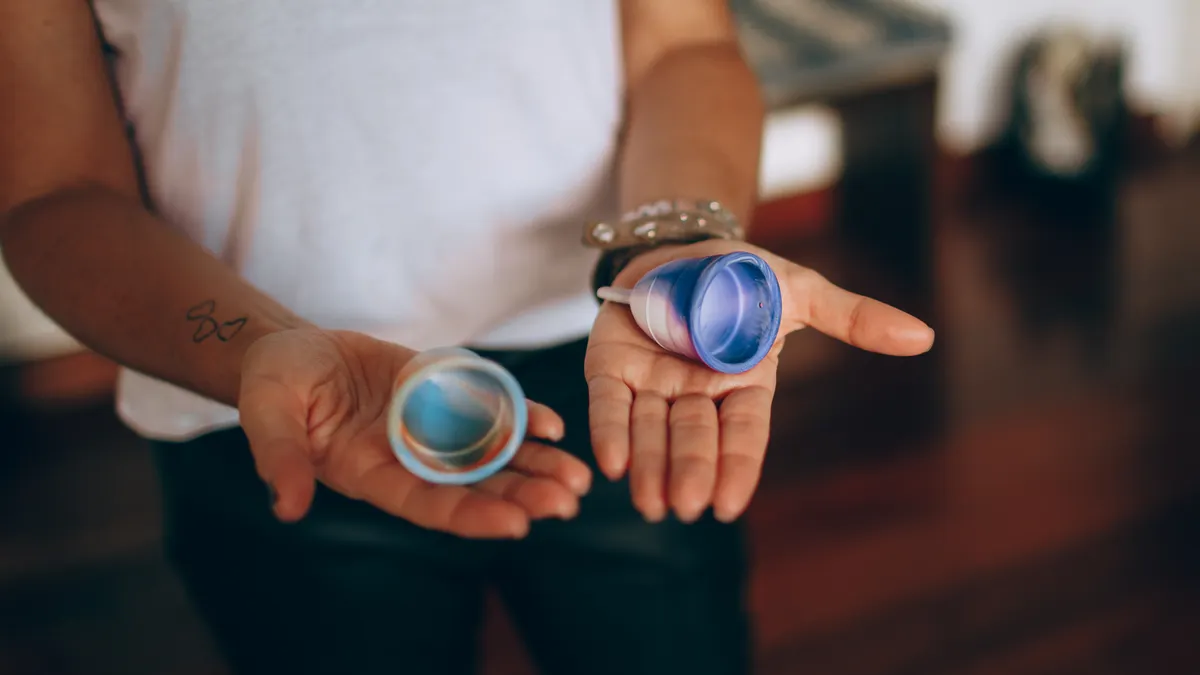
Use unscented soap only when the cup still feels slick, stained, or carries residue after a rinse. Water handles most of the job; soap handles the stubborn part.
Use a soft cloth or your fingers rather than anything rough. The wrong move is to scrub harder with a rough sponge or paper towel. A menstrual cup is not a pan. It does not need abrasives, and it does not benefit from a heavy detergent smell that lingers until the next use.
Choose a soap that is plain and mild, then use it sparingly. One drop is often enough for a full wash. If the cup is made of silicone, most manufacturers recommend avoiding scented soaps, castile soaps with a heavy oil film, antibacterial soaps with strong additives, and anything that leaves lotion behind. Those products can make the cup feel tacky and can irritate sensitive tissue.
A helpful test is this: after washing and rinsing, the cup should feel like neutral silicone. If it still feels slippery in a soapy way, it needs another rinse. If it feels dry but slightly chalky, the soap may be too harsh or too concentrated. If odor keeps coming back after every rinse, the cup may need a more thorough sterilization at the end of the cycle.
This is also the point where a reader can avoid one common mistake: do not rely on perfume to cover up smell. A menstrual cup that smells strongly perfumed is usually telling you that residue is still there. Clean the residue instead of masking it.
For setup and first-use basics, the broader menstrual cup basics and first-time setup guide belongs elsewhere on the site, so this page stays focused on cleaning. For related care, see the menstrual cup basics page and the first-time setup guide.
How to sterilize a menstrual cup between cycles
Sterilize a menstrual cup between cycles by boiling it in water for about 5 to 10 minutes, or by using a sterilizer cup if the cup’s manufacturer says that method is safe for the material.
Here is the safer, standard approach:
- Use a clean pot dedicated to boiling the cup if possible. A small saucepan works well. The cup should be fully submerged, and the water should cover it by at least a few centimeters so it does not touch the bottom.
- Bring the water to a gentle boil, not a violent rolling boil. A strong boil can make the cup bounce against the pot or touch hot metal directly. A steady boil is enough for most cups.
- Keep the cup in the boiling water for 5 to 10 minutes. That range is common because it gives heat time to do its job without needlessly stressing the material. Longer is not better if the cup starts to deform.
- Watch the pot so it does not boil dry. If the water level drops too far, the cup can overheat and warp. The right result is a cup that comes out intact, not flattened or bent.
- Remove the cup with clean tongs or a spoon and let it cool on a clean towel. It should be warm, not hot, before storage. If the silicone is soft or misshapen when you lift it out, it may have been overheated.
- Let it dry completely before storing it. Moisture trapped in a pouch can lead to odor even after sterilizing.
A sterilizer cup can be a good option if you do not want to watch a pot every month. Follow the product’s directions exactly, because models differ in how they use steam, water, or microwave heat. The key question is not “Is it fancy?” but “Does the method match the cup material and the manufacturer’s instructions?” If you are unsure, check the brand’s care page before you try it. NHS
Do not sterilize with bleach, hydrogen peroxide, or dish sterilizing tablets unless the cup maker explicitly says to do that. Those methods can shorten the life of the cup or leave residue that is not meant for internal use. (Source: Healthline)
How do you sterilize a menstrual cup?
You sterilize a menstrual cup by using heat, usually boiling it for 5 to 10 minutes, or by using a manufacturer-approved sterilizer cup. Heat is the method most readers are looking for when they ask this question, because it is simple, cheap, and suited to the silicone cups sold for monthly use.
The key is to sterilize at the right time. Do it after the final wash at the end of your cycle, not after every emptying. Repeated high heat all month is unnecessary wear for the cup and adds no real benefit for most users. If the cup has cracks, a warped rim, or a smell that never leaves, sterilizing is not a fix for damage.
A good sterilization routine leaves the cup clean, odor-light, and dry. If it comes out smelling like boiled silicone rather than stale menstrual fluid, the process worked. If it still smells musty, the cup may have been stored while damp or may have residue in the air holes.
For extra confidence, check the product instructions from the cup maker and the FAQ of the model you own. Some brands name the exact method they allow, and that matters more than generic advice.
How often should you clean a menstrual cup
You should clean a menstrual cup every time you empty it and sterilize it once after each cycle. That split keeps the cup sanitary without overhandling it.
Between emptying sessions, the goal is removal of blood and residue. At the end of the period, the goal is a deeper heat treatment before storage. Many users follow a pattern like this:
- Empty and rinse every 8 to 12 hours, depending on flow and capacity
- Wash with unscented soap when needed during the cycle
- Sterilize once after the cycle ends
- Store dry in a breathable pouch until the next period
That schedule is practical because it matches the way the cup is used. A cup that is rinsed only once a day during a heavy flow can still become slimy or develop odor. A cup that is boiled after every emptying can get too much heat for no gain. The middle path is usually the right one.
There is one exception worth saying plainly: if the cup was dropped on a dirty floor, touched with unwashed hands, or stored dirty for a long stretch, clean it before the next use and sterilize it again if the next cycle is close. A cup is a reusable product, but it is not meant to be treated casually. Check the manufacturer’s care guide if you are unsure how far to take the cleaning. Mayo Clinic
Storage, odor prevention, and what to avoid
Store a menstrual cup dry in a breathable pouch, and avoid anything that traps moisture, leaves film, or roughens the surface.
A storage pouch lets the cup dry out fully and keeps lint off it. A sealed plastic bag, airtight jar, or closed cosmetic tin can hold moisture inside, and that is a fast path to odor. If the cup still smells after sterilizing, the storage method is often the real problem, not the cleaning step.
These habits help most:
- Dry the cup completely before storing it. A towel can remove the worst of the water, but the cup should air-dry for a little while too.
- Keep it away from scented products. Soap, lotion, and drawer sachets can all leave a smell on silicone.
- Use soft cleaning tools only. Steel wool, textured scrubbers, and abrasive powders can damage the surface.
- Do not boil a dry cup. It needs water around it, both for heat control and to prevent warping.
- Do not leave it on direct heat or in a microwave unless the manufacturer specifically allows that method.
Odor prevention is mostly about removing residue fast and storing the cup dry. A faint smell after a long period of use is normal for many cups, but a strong sour or metallic odor is a sign to clean more thoroughly. If that smell persists after cleaning and boiling, the cup may be nearing the end of its service life, especially if the silicone has visible wear.
The trade-off here is simple: the gentler the cleaning routine, the longer the cup usually lasts. The harsher the routine, the more likely the silicone is to age early.
A simple routine that keeps the cup in good shape
A simple routine that keeps a menstrual cup in good shape is the one that is easy enough to repeat every month. Rinse after each emptying, use unscented soap only when residue remains, boil or sterilize between cycles for 5 to 10 minutes, and store the cup dry in a pouch.
That routine is not glamorous, but it works because it matches the cup’s actual job. It removes blood before it dries, avoids unnecessary chemicals, and uses heat only when it helps. It also protects the cup from the mistakes that shorten its life: abrasive scrubbing, perfume-heavy soap, airtight storage, and overheating.
If the cup is still stained, that is usually cosmetic. If it is still slippery, smells bad, or feels sticky after rinsing, the cleaning step was not finished yet. The clean result is a cup that looks ordinary, feels smooth, and does not carry yesterday’s smell into tomorrow’s use.
How do you sterilize a menstrual cup?
You sterilize a menstrual cup by boiling it in water for 5 to 10 minutes or by using a sterilizer cup approved by the manufacturer. Heat is the standard method because it is simple and does not leave detergent residue behind. Let the cup cool and dry fully before storing it in a pouch.
Do you need to boil a menstrual cup?
You usually need to boil a menstrual cup between cycles, not after every emptying. Boiling gives the cup a deeper clean before storage and helps with odor control. If the brand allows another sterilizing method, that can work too, but the exact instructions for your cup matter more than generic advice.
How often should you clean a menstrual cup?
You should clean a menstrual cup every time you empty it and sterilize it once after each cycle. Rinse and wash during the period, then boil or sterilize before storing it for the next one. If the cup is dropped or stored dirty, clean it again before reuse.
Drafted with AI; not yet reviewed by a person.